Monday, October 12, 2009

Tutorial: Pot Holder

This is very easy. It took me about an hour to make this. Whenever I have bought pot holders, my biggest problem is that they are just not big enough. This makes it hard to grasp the hot plate or pot. I am always afraid I am going to burn something. I decided to make one so that it is big enough to grab with lots of fabric covering your hand. Sure, you could use a mit, but it does take a lot longer to get those on, plus you can put the hot pot or plate on top of the pot holder. It works out great!
Photobucket

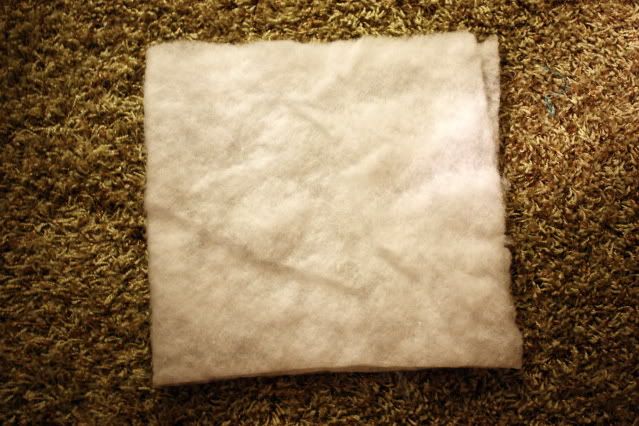
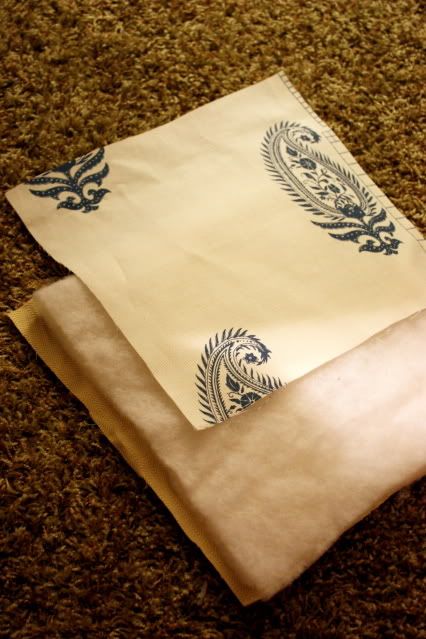
To be Honest, I don't know the dimensions of this pot holder, so I just eyeballed the length that I wanted it. Get some batting, I doubled this one to give it more thickness and stability.

Photobucket
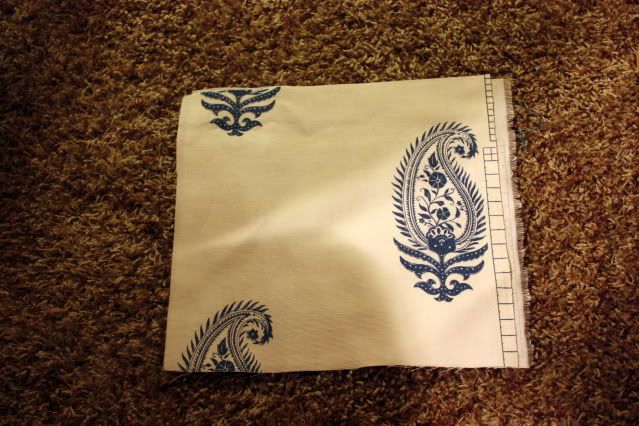
Now cut out your fabric. I like this one a lot, but I wanted a contrasting color, so I used a yellow on the other side.

Photobucket

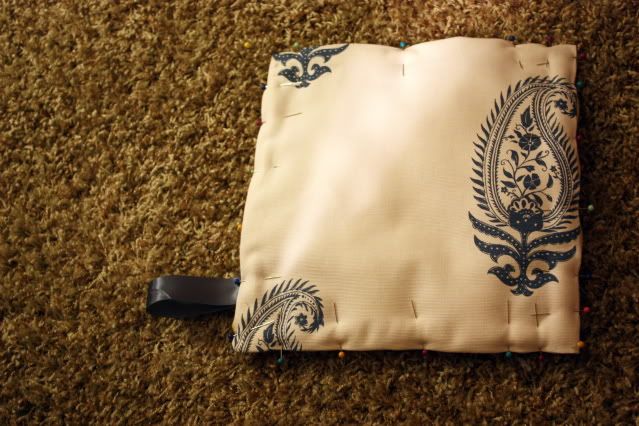
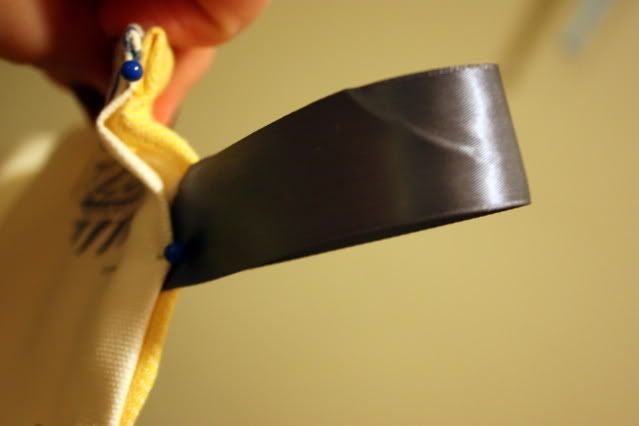
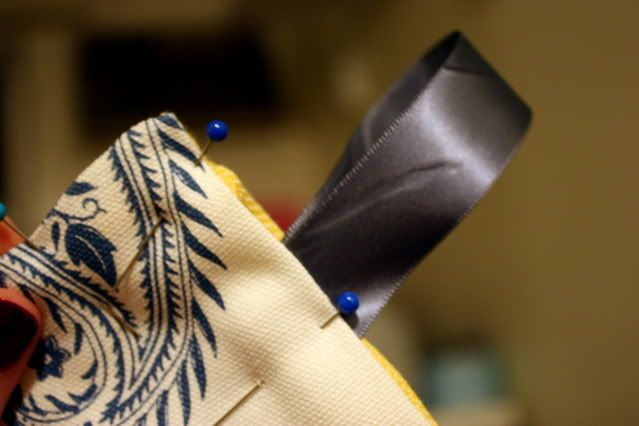
You are going to start pinning it all around. I like to have a ribbon hook on just in case I want to hang it up.

Photobucket

Like So...

Photobucket

Now pin all around ....
then the fun part. SEWING!

Photobucket

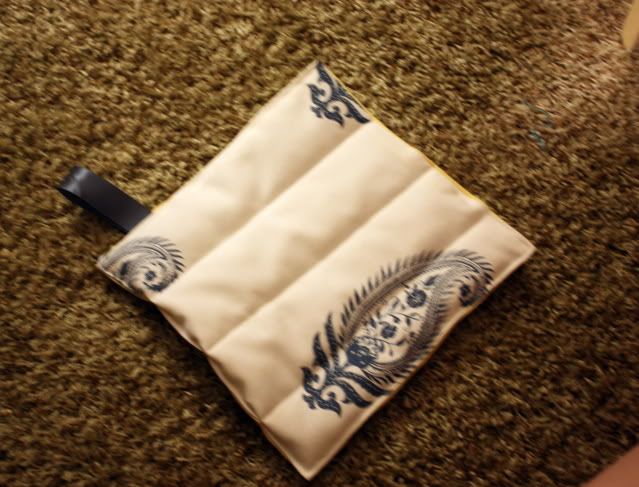
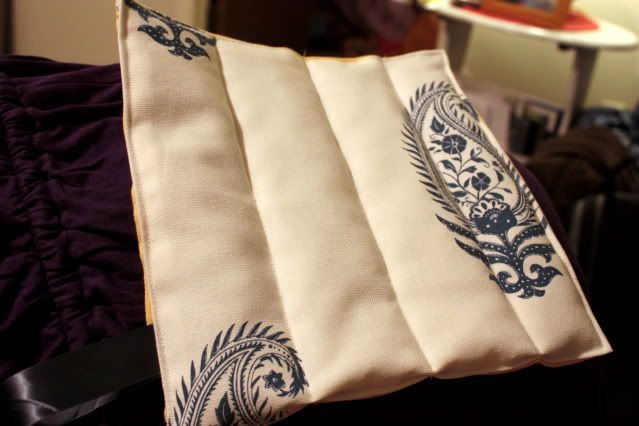
Got it all sewn. I like to sew down the center a few times to give it more strength. It gives it a nicer look.

Photobucket


Photobucket

Saturday, September 26, 2009

Projects

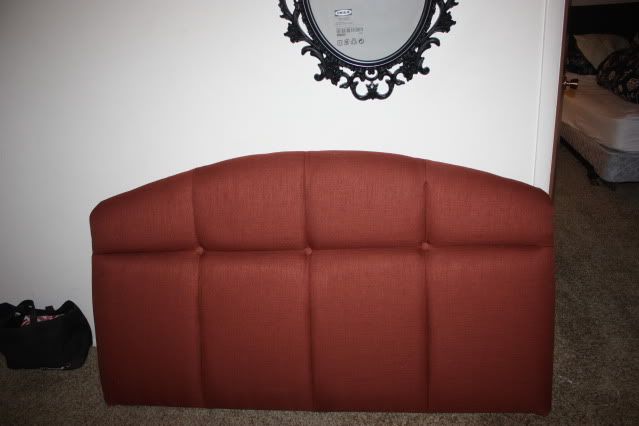
I have been doing some sewing projects, so many that I haven't been able to post them! Ill give you a sneak peak of something I just finished.

This is the before!!
bought it on Craigslist for $50!!
Photobucket

Monday, September 7, 2009

Tutorial:Decorative Pillow

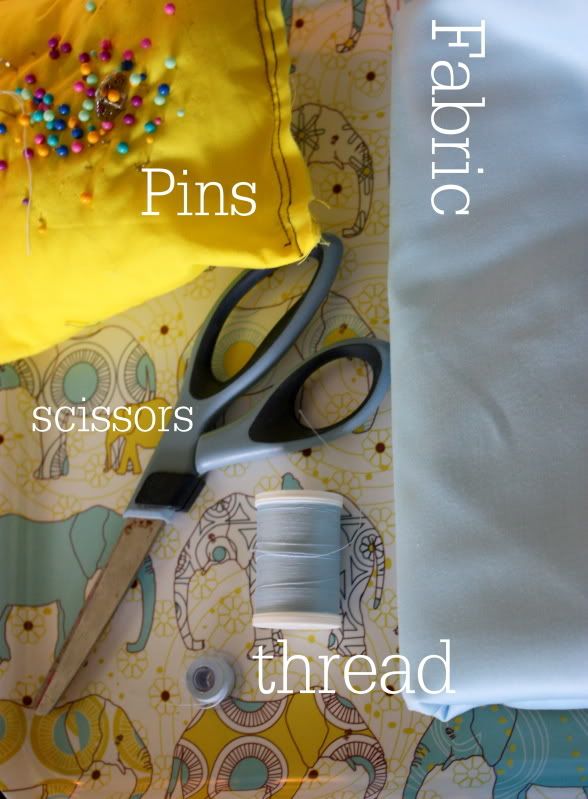
What you will Need

Photobucket

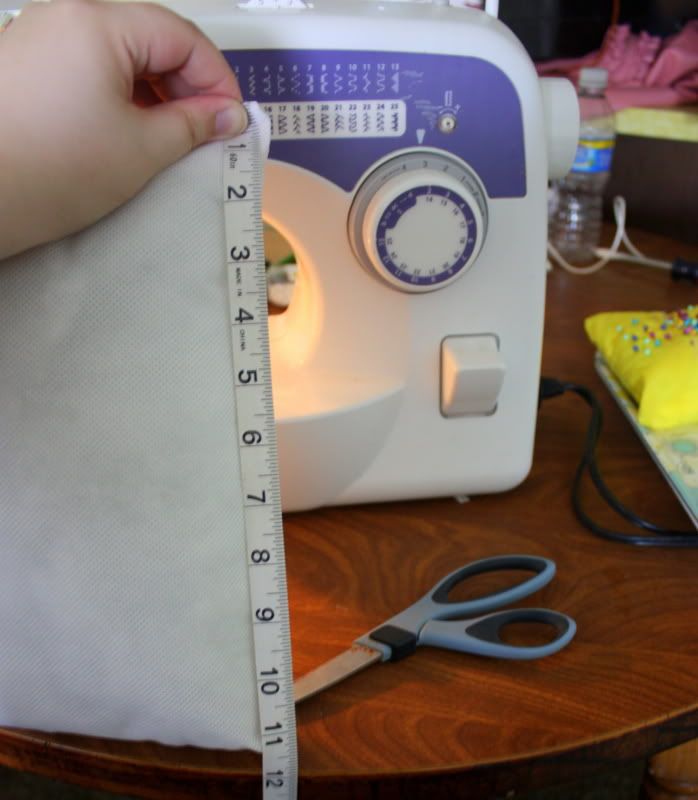
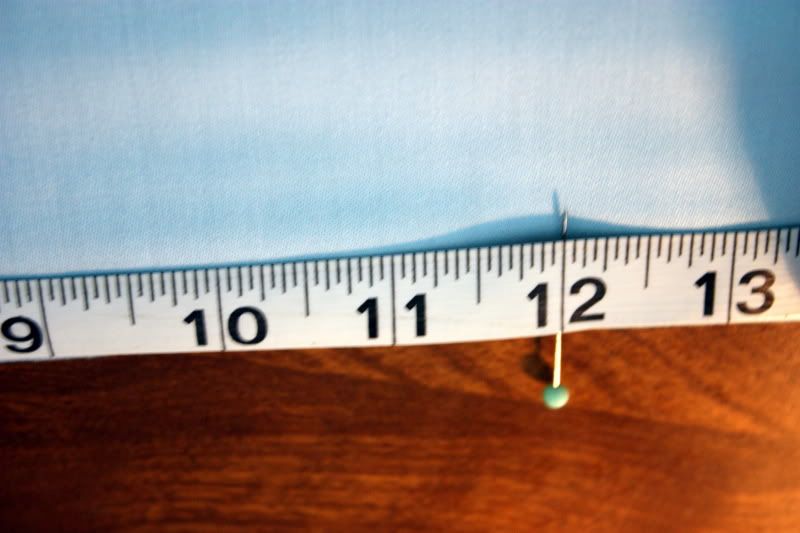
Measure your Stuffed Pillow that will go inside of your Pillow Cover you Sew. Mine is about 11 1/2 inches, so cut out your fabric at about 12 inches.

Photobucket

Photobucket

Photobucket
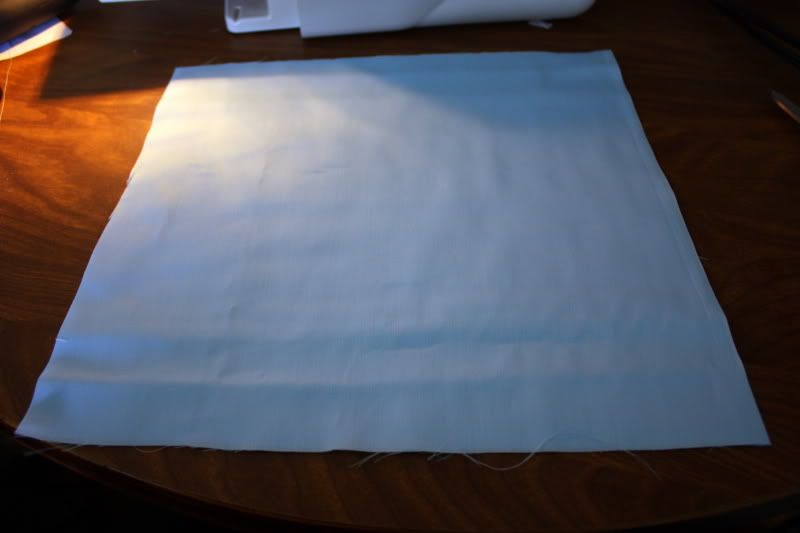
Here is my cut out pillow. You are going to put this aside for a little bit.


Photobucket

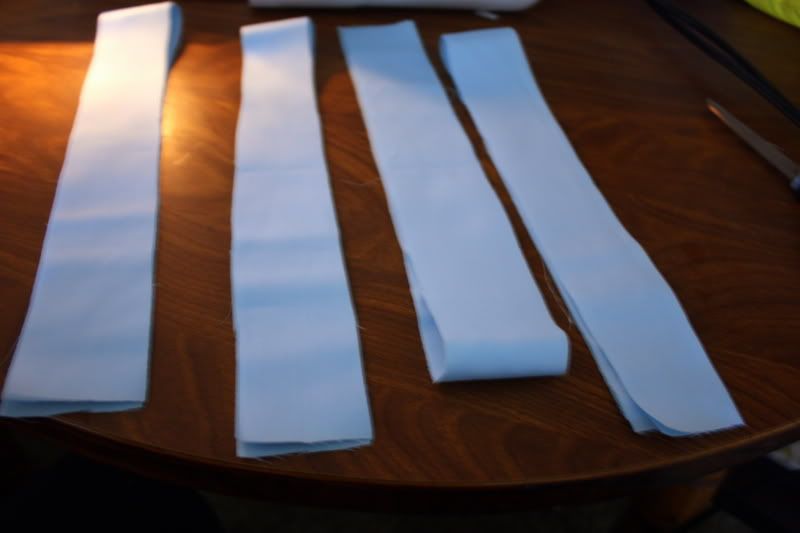
Now you are going to Cut out strips of Fabric that are about double the length of the actual pillow. My Pillow is 12 inches long, so I would cut mine out at 24 inches.


Photobucket

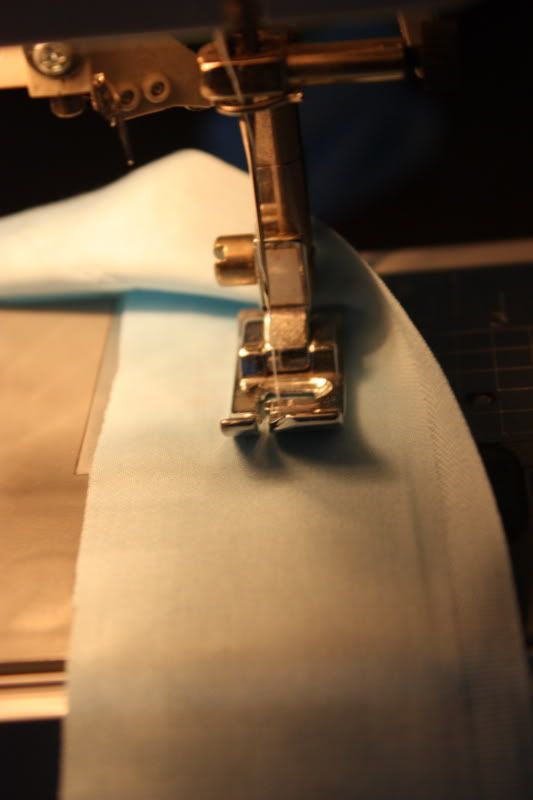
Take one of your Strips and put your machine on the basting stitch. Make sure you are sewing down the middle.

Photobucket
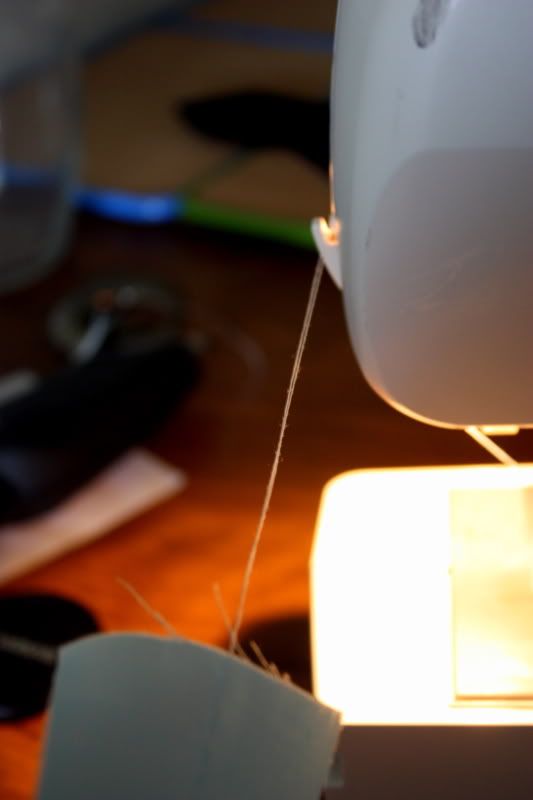
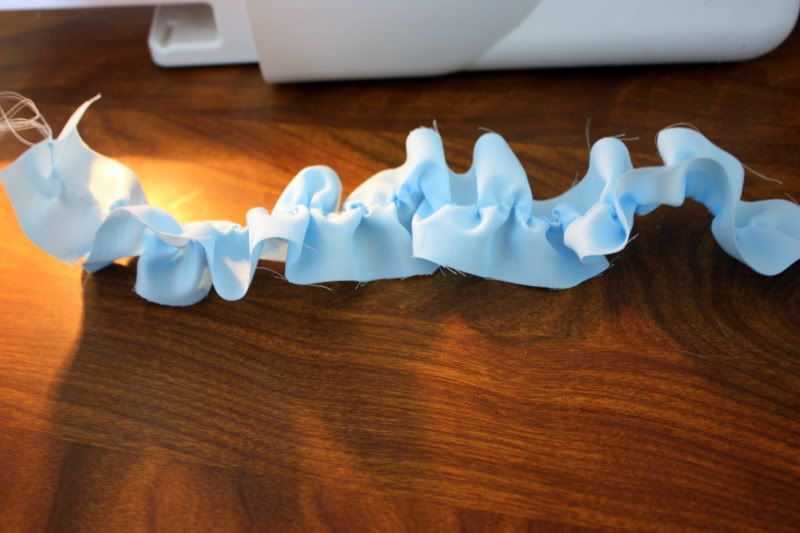
Make sure you don't cut your thread right next to your fabric. You need all the thread you can get. This is what you will pull to gather your seams. Give about 1-2 thread allowance.


Photobucket

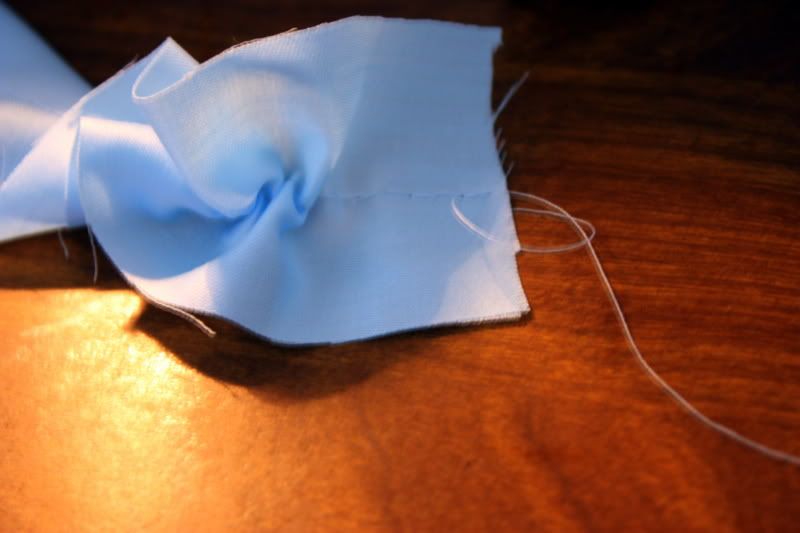
Now grab one of the thread's and pull carefully, if it breaks, you have to start over.
Photobucket
This is what it looks like when it's done.


Photobucket
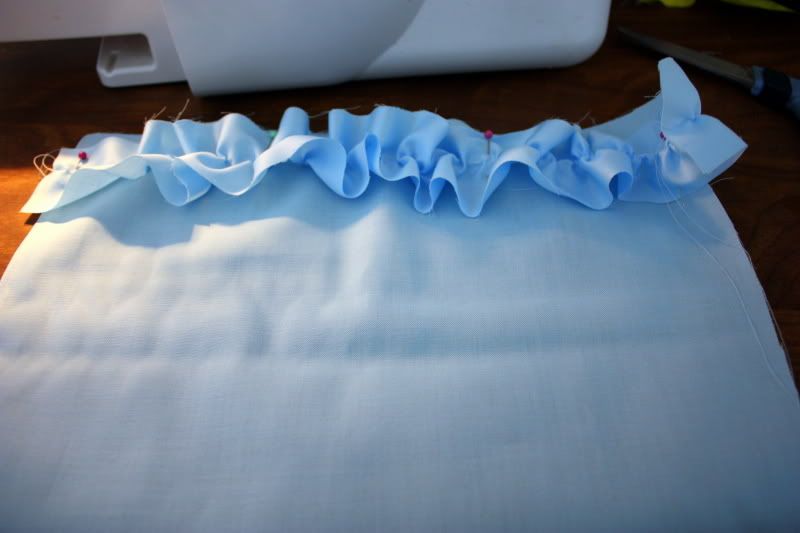
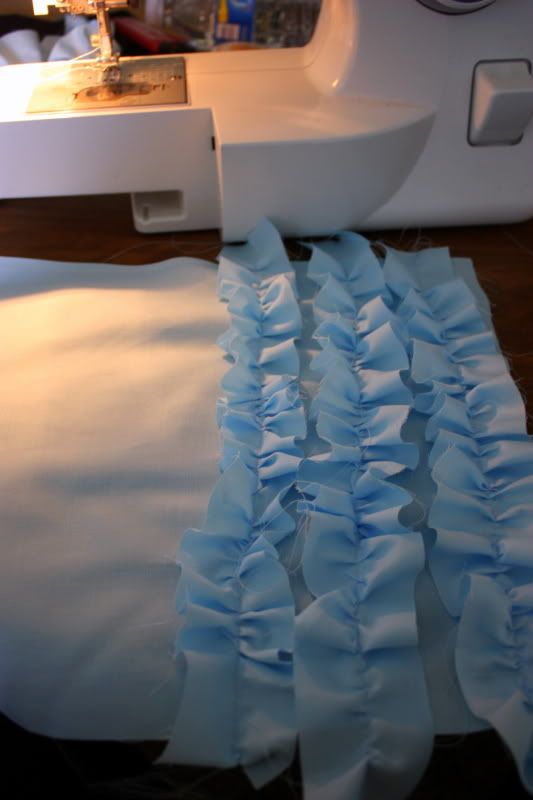
Get one side of the pillow and start pinning your gathered pieces. Make sure to lay them flat because it can get hard to sew them since they are all gathered.

Photobucket
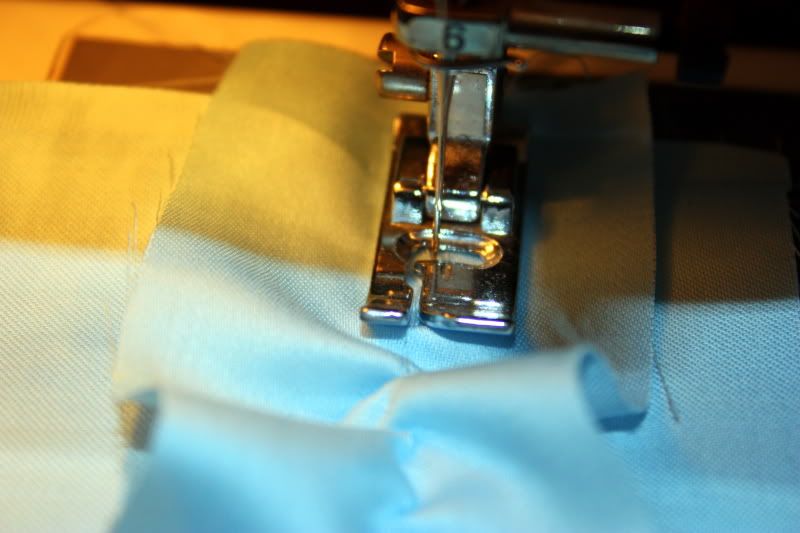
This can get difficult, but you gotta have patience. Make sure you put your machine back on normal stitch. Just sew on stop of your baste stitch.

Photobucket
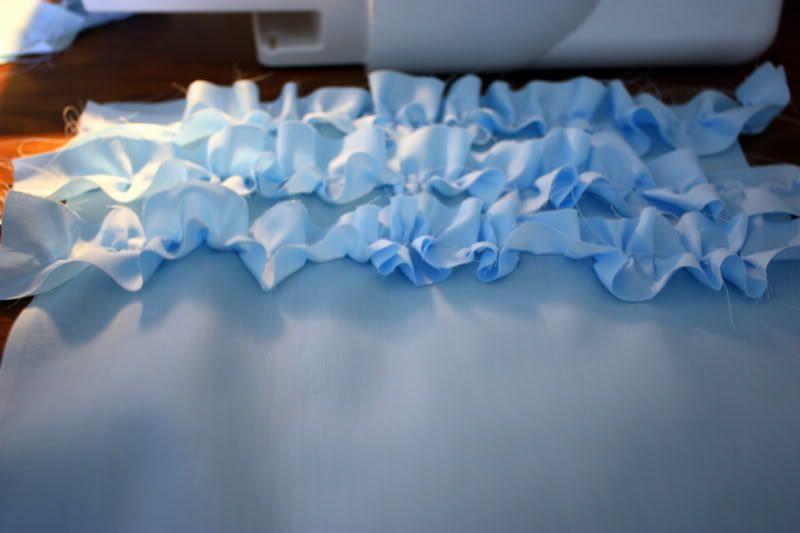
Just keep doing this. I only used 5 strips for my pillow.
Photobucket

Now take your other piece of the pillow you cut out, right sides together and sew. Then you will turn it inside out, and put the pillow in. I usually hand sew one side.

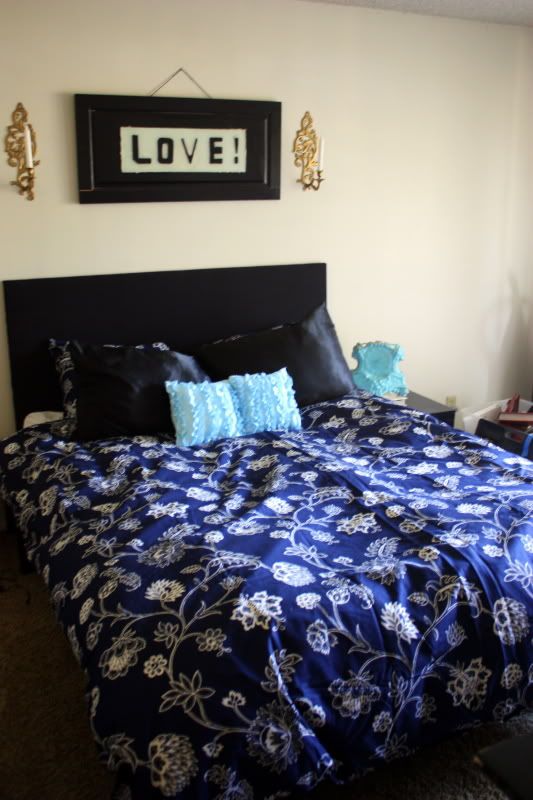
Now you are done!! I made 2, so it's not one long big one!
Photobucket

Thursday, September 3, 2009

Tutorial:Message Board

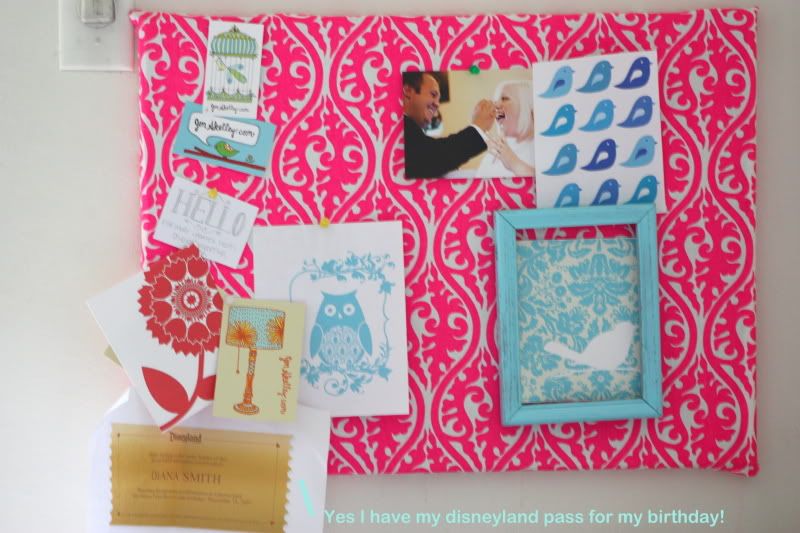
Message Boards are so fun! You can put invitations, swatches of fabric, Photographs of Loved one, Inspirational pieces of art, pretty much anything your little heart desires. A few of the design blogs I read have done this before too. So this might be a repeat project, but it's fun and easy...and no sewing involved!!

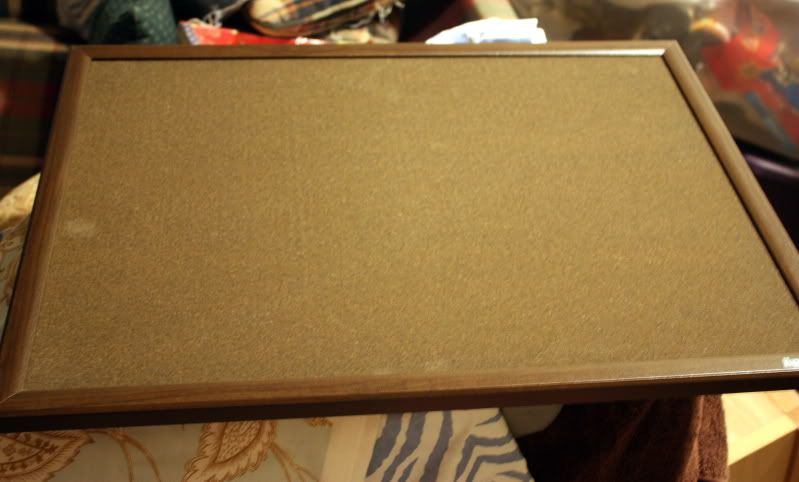
All you need to get is a cork board. Photobucket
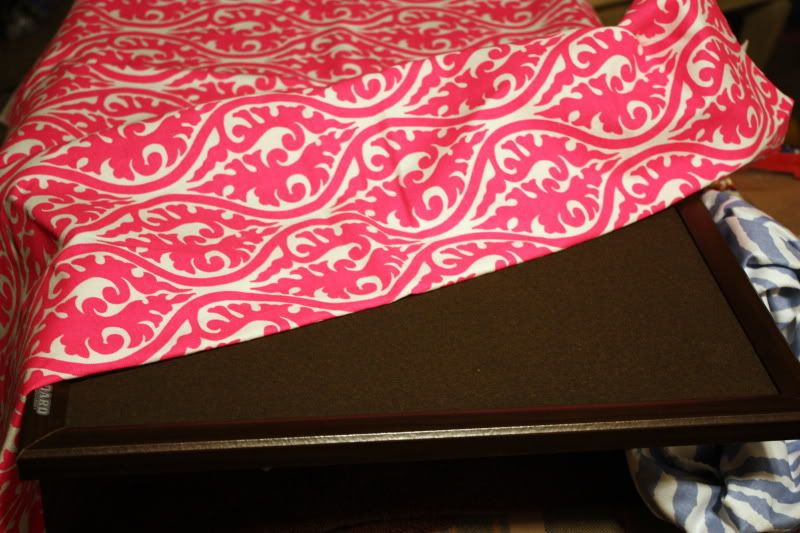
Target had them for 7 bucks. Then you are going to want some pretty sturdy fabric, but don't assume all sturdy, thick fabric is ugly and boring. I picked something bright and colorful that actually goes completely off my color scheme. I figure its going to have things covering up, why not do something bright so you can see this poking through, Be Brave and Venture into the bright fabrics!Photobucket

Now you are going to want to get your staple gun which is only 15 bucks! And if you look at it like me, then you can reupholster your seat cushions on your dining room table, and making a headboard for your bedroom, so 15 bucks is very worth it.

You are going to staple all around the back of the frame and pulling the fabric nice and tug...this is when you get your man out to help so he use his man muscles.

Photobucket

And there you go! Simple as that. Put whatever you want on it!It sure is a lot of fun to have!

Sunday, August 30, 2009

Tutorial:Flower Headband

The latest fashions are showing adorable headbands that have large brightly colored flowers or bows. They are extremely cute and can pull any outfit together, but sometimes, they are more than you are willing to pay, for me at least. I got the idea from Make it and Love it blog, where she made her daughter a dress, but with a bow also. The bow isn't the same, I used my own idea and thought of this while making it. Here is how I did it:


Photobucket

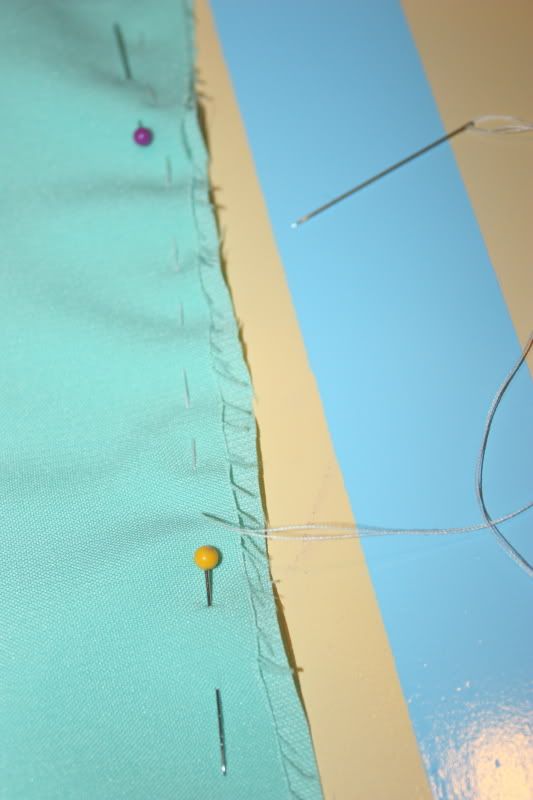
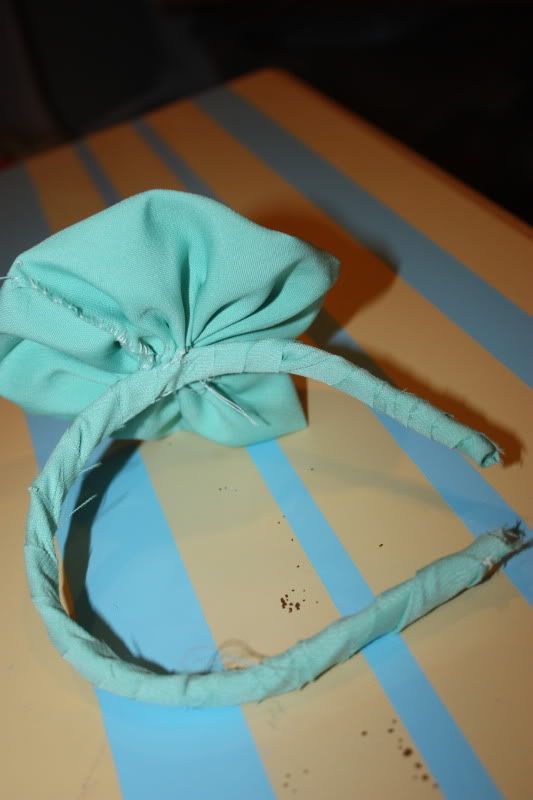
I first cut out a 12 inch length of fabric folded over. This gives it a nice, non frayed edge for your bow. Then as the picture shows above, I hand sewed going in and out, pinning the fabric, of course : )

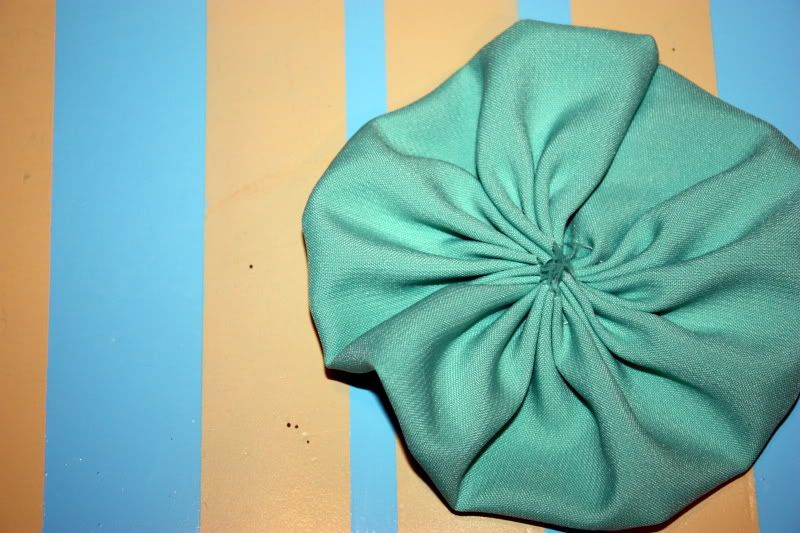
After sewing the entire length of the strip, I pull the excess string and it gathered together. Almost like basting. This made it curl up into a circle and becoming a flower.
Photobucket


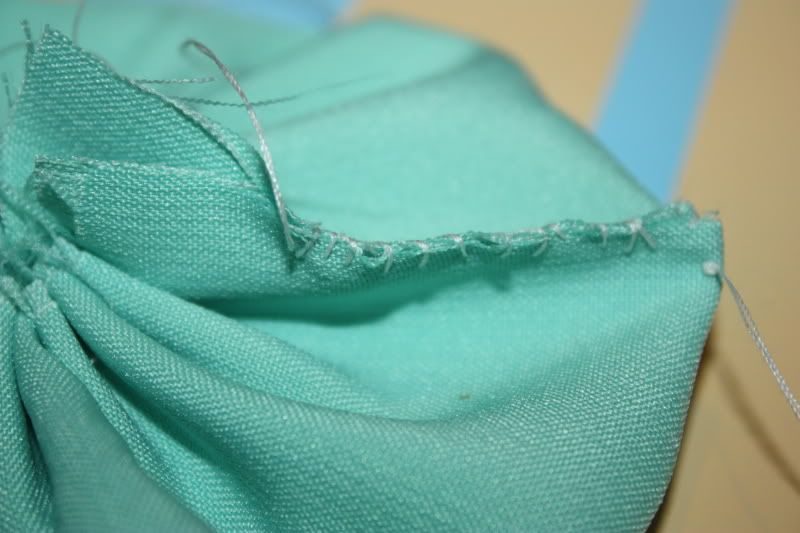
Next step is to sew together both ends of the original strip. You can machine sew, but I already had my needle and thread out, so it was just easier to hand sew it.
Photobucket


This is optional, but I wanted my headband to have matching fabric so I cut out about 20 inches x 2 inches of fabric and wrapped it around the band using some super glue.


Photobucket

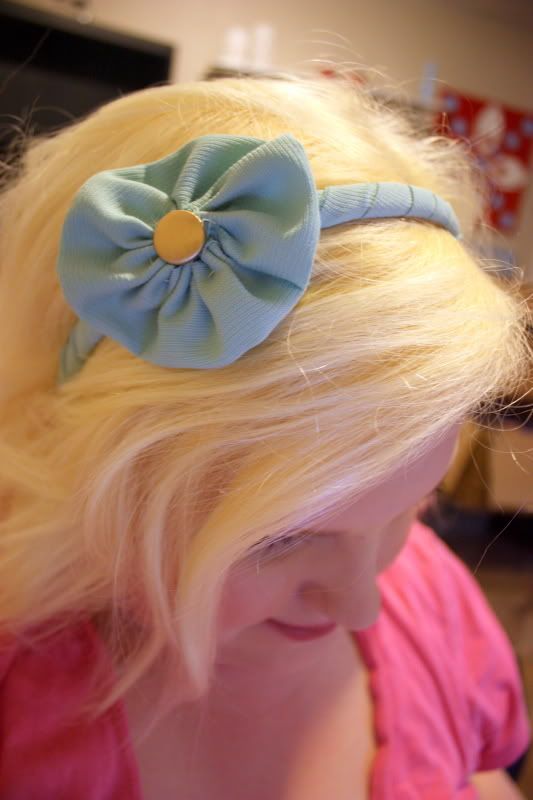
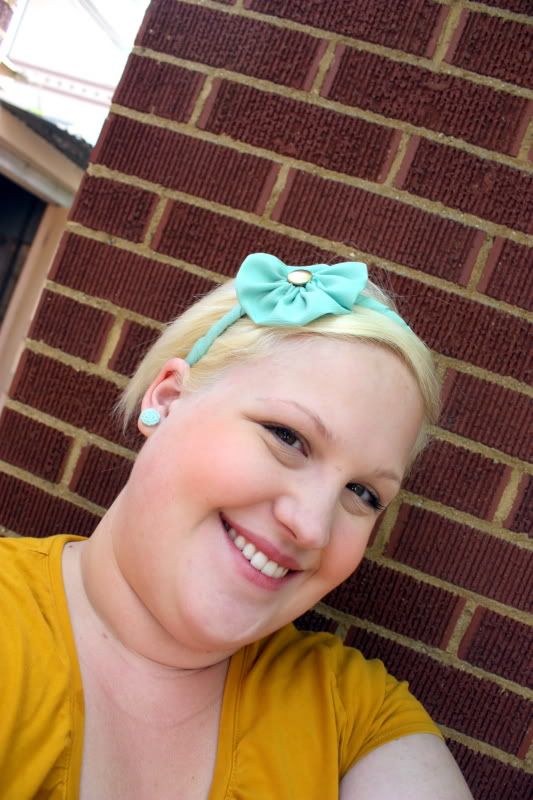
Add any embellishments that you might think are cute!
Photobucket


Photobucket
TA-DA!